


How to Compost from Home
May 5 to 11 is National Compost Week! While we’re spending more time at home, it’s a good time to try backyard composting.
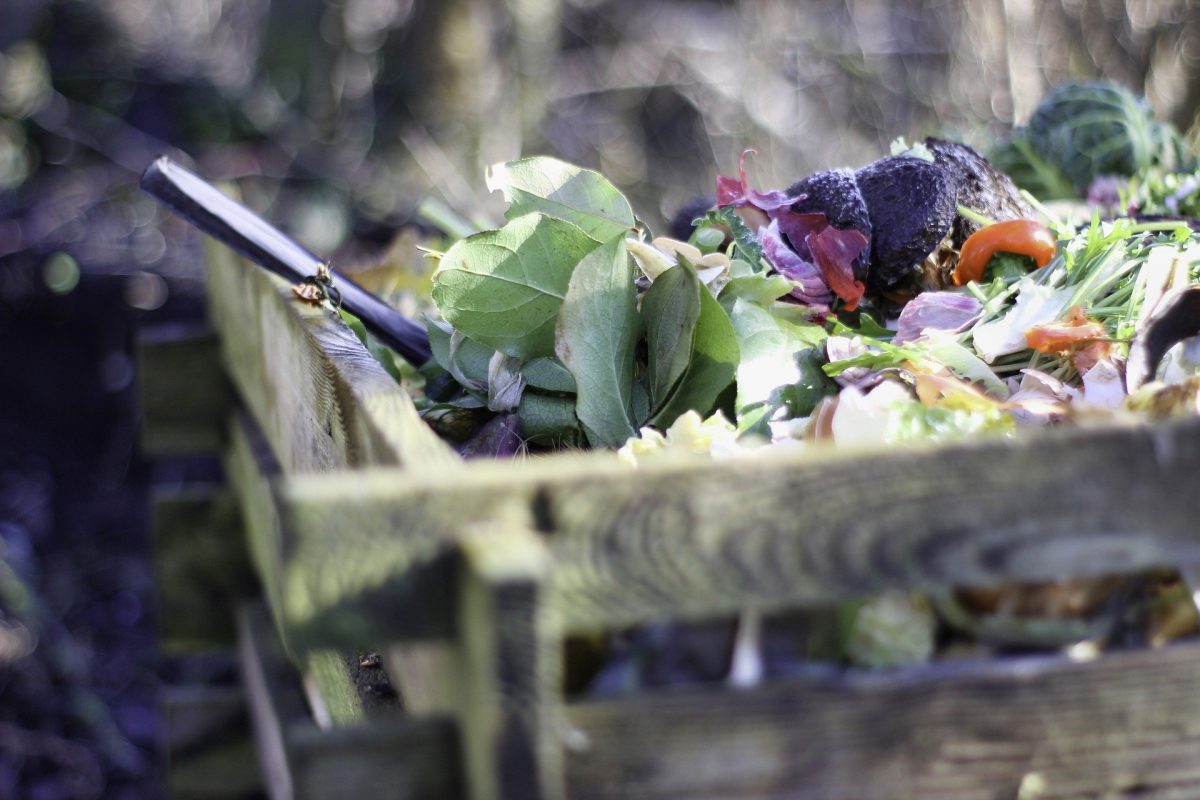
Composting is the process of organic matter decaying naturally. When organic materials are combined together with oxygen to decay, they break down and create a nutrient-rich material called compost. This material looks like soil, but offers many more benefits. When food waste goes into the landfill, food scraps ferment and emit large amounts of the dangerous greenhouse gas called methane. Composting properly manages this decomposition, eliminating methane from producing. At home, over 40 per cent of residential waste is compostable material, meaning there is great opportunity to turn food waste into nutrient-rich soil for your garden.
The University values the positive impacts of composting, which is why, in 2019, the Office of Sustainability started a volunteer-based student- and staff-run organics collection program at the Fort Garry and Bannatyne campuses. Volunteers collect the organics weekly from each area and take it to a central location where it is picked up by Compost Winnipeg. Thus far, there are 45 locations and 20 volunteers involved in collecting organics on campus, with over 23 tonnes of organics being diverted from landfill in the first nine months of the program.
UM compost collection may have paused on campus in response to COVID-19, but your backyard compost bin is ready to start decomposing! Here are some helpful hints to consider when starting an at-home compost this summer:
Composting in your backyard in three easy steps
1) Choose a spot
Choosing the right spot for your compost pile is key. If you start your pile on the ground, avoid areas subject to direct wind, or lower areas that allow water to pool. You don’t want your pile to stay soaking wet or it won’t break down properly. A nice, protected, dry and sunny spot with good drainage is ideal.
You can also use a raised bed or a compost tumbler to start your pile. A tumbler is a quick, efficient way to make compost with much less space than a traditional pile. Tumblers speed up the process by allowing compost to heat up at a much quicker rate and users to spin the container, mixing the material much more effectively than with a pitchfork or rake.
Don’t have a large outdoor space for your pile? You can also use a large pail and keep it on your patio. Make holes in the lid and the bottom so your compost has good drainage, then follow the same steps below.
2) Collect materials
There are two types of materials needed to compost: carbon-based items known as ‘browns’ and nitrogen-based items known as ‘greens.’ The secret to a healthy compost pile is to maintain a working balance between the two.
Carbon matter (browns): branches, stems, dried leaves, peels, bits of wood, bark dust or sawdust, coffee filters, dried coffee grounds, conifer needles, eggshells, straw
Nitrogen matter (greens): food scraps, green lawn clippings, kitchen waste, leafy materials
Materials not to add: meat, fish, bones, dairy products, oily foods, large pits or stones
3) Get started
There are three things that every compost pile needs: the material (browns and greens), moisture and oxygen. To complete your setup:
- Lay twigs and straw a few inches deep. This aids drainage and helps aerate the pile.
- Add compost materials in layers, alternating between browns and greens.
- Water your compost to maintain adequate moisture. A good rule of thumb is to water when you turn it if it looks dry.
- Mix/turn your compost every time you add to your pile to add the needed oxygen.
- Cover your pile with anything you have – wood, plastic sheeting or carpet scraps. This helps retain moisture and heat, two essentials for compost.
Once you’ve established your compost pile, add new materials by mixing them in, rather than adding them in layers. This is key to aerating the composting materials and speeding up the process. When the bottom of your pile is dark brown, you’ve successfully made compost and it’s ready to use.
Vermicomposting
A vermi-bin, also known as a worm bin, uses red wriggler worms that love food scraps. The worms create their own compost material in the bin, which you can scoop out and add to your planting soil.
Many farms outside the city sell worms for composting online, such as:
- Nature’s Perfect Plant Food
- St. Andrews, Manitoba – contact Art at (204)482-1244 or email acrane1@highspeedcrow.ca
Set your bin up with a bed of brown material such as shredded printer paper or newspaper and spray it with a bit of water. This helps regulate moisture, so don’t pack it down too much. The worms should be fed around twice per week, and the food should be cut into smaller pieces if possible. Here are some items we know your worms will love, and some they may not:
Good food: fruit and vegetable scraps, tea leaves
Sometimes food: coffee grounds, citrus, onions, bread, rice, pasta (can really change the acidity of the bin and should be added in moderation)
Bad food: meat, fish, bones, dairy products, oily foods, large pits or stones
Worms like cooler, darker areas. We recommend storing your worm bin in a basement, closet or under your bed.
Compost Winnipeg
If you want to compost but don’t have the space or patience, there is a third option.
Compost Winnipeg, a social enterprise of Green Action Centre, offers residential compost pickup for $25 a month. They provide you with a pail, bag for every week and weekly pick-ups. There is a bit of a waitlist, so sign up now if you are interested! They will then contact you with your pick-up day and other logistics.
You have now successfully reduced your landfill waste and recycled essential nutrients back into your garden! If you created your own pile or got a vermi-bin, make a liquid fertilizer or mix your compost right in with your potting soil and watch your plants grow!