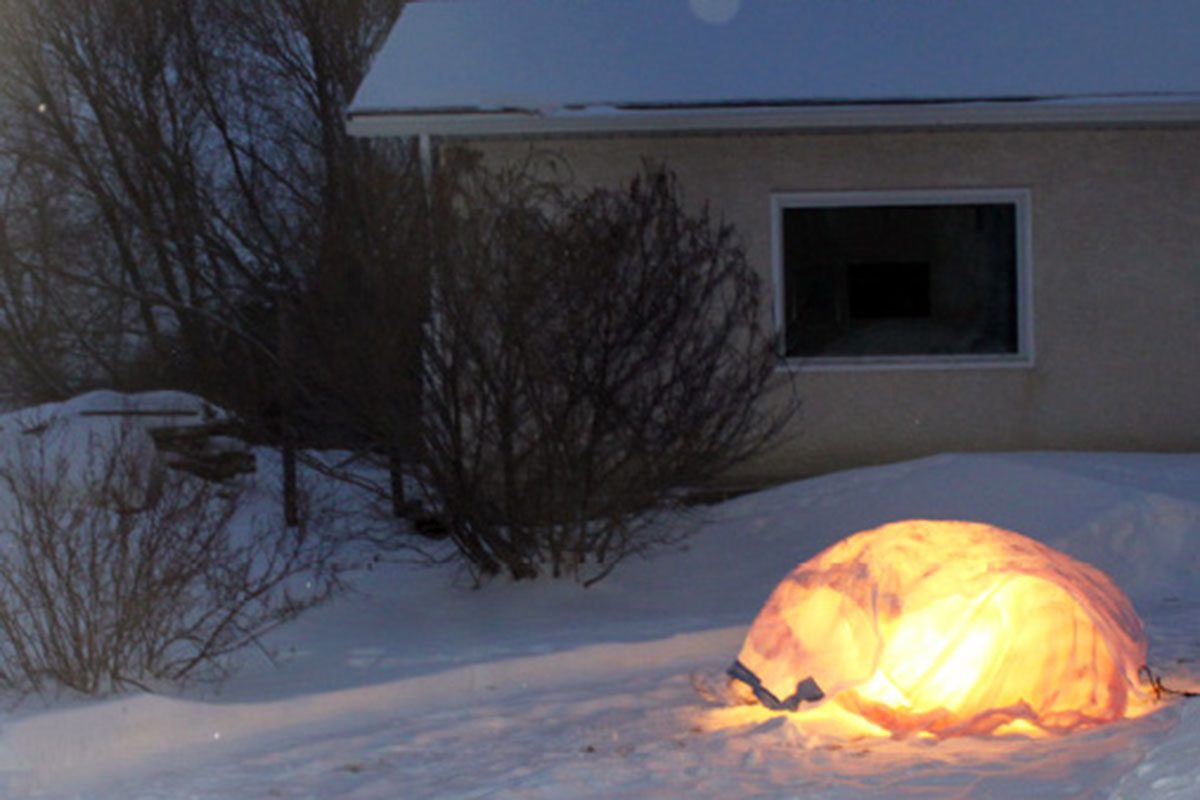
Julie Kusyk and Andrew Lewthwaite encourage getting creative with snow forts, like by adding lights. // Photo supplied by Julie Kusyk
How to build the best snow forts, according to architects
With the snow here to stay, fuelling the desire to stay inside all day, University of Manitoba alumni have ideas to get you outdoors.
Architectural intern Julie Kusyk [BEnvD/12, MArch/14] and architect Andrew Lewthwaite [MArch/08] have worked on winter design projects and have some creative ideas on how to build a snow fort — the best snow fort.
“I don’t think there are too many rules when it comes to it,” says Kusyk, an environmental design instructor in the Faculty of Architecture. “Just open up your imagination. That’s what is so exciting about water and ice.”
The best fort-building conditions happen on warm days, allowing for wet, sticky snow. But if the weather isn’t co-operating, you can make your own sticky snow by pouring water on it.
Both Kusyk and Lewthwaite encourage creativity in snow fort building by experimenting with different materials. After all, if something doesn’t work out, just cover it up and start again.
“If you can create a semi-warm place, and it’s intimate and cozy, I think that’s ultimately the best part,” Lewthwaite says.
1. The subtractive or quinzee method
Make a big pile of snow, using your hands or a snow blower. Start tunnelling through. Dig with your hands or a little shovel and carve out a space inside. The snow has to be hard packed enough to avoid it from collapsing, so adult supervision is necessary.
Lewthwaite says this is likely the easiest method.
2. The additive or snow/ice block method
Fill two litre milk cartons (or buckets or boxes) with water or wet snow, add food colouring and freeze. Take the blocks out of the containers.

Add food colouring to water or wet snow before freezing it to create ‘ice gems.’ // Photo supplied by Julie Kusyk
You can create any shape of fort that you want, such as a pyramid, by stacking the blocks gradually toward the centre.
“The best part about it is the sky is the limit in terms of imagination,” Lewthwaite says.
This method is the most suitable for the playground, he says, since you can get a group of kids working together.
An option is to use “snowman pieces,” basically giant snowballs, instead of blocks. Or make a ring of snowmen and fill in the gaps with packed snow.
3. The ice lantern
Find a box that’s big enough to fit in — you’ll be crawling inside later. Put a waterproof liner in the box and fill it with water. Let the water freeze. It will freeze from the outside in, leaving some liquid at the centre.
When the structure has thick enough walls to support itself, remove the box and the liner. Drill a hole into the centre of the ice to drain the water that didn’t freeze. Make a larger opening where you drilled the hole, put in a light and crawl inside your very own ice lantern.
“Ice is such an amazing material,” Lewthwaite says. “It’s all around us, but we don’t get to experience it that way.”
This method requires a bit of a construction crew, as Lewthwaite points out, but it is his top pick for a snow fort.
4. The canopy fort
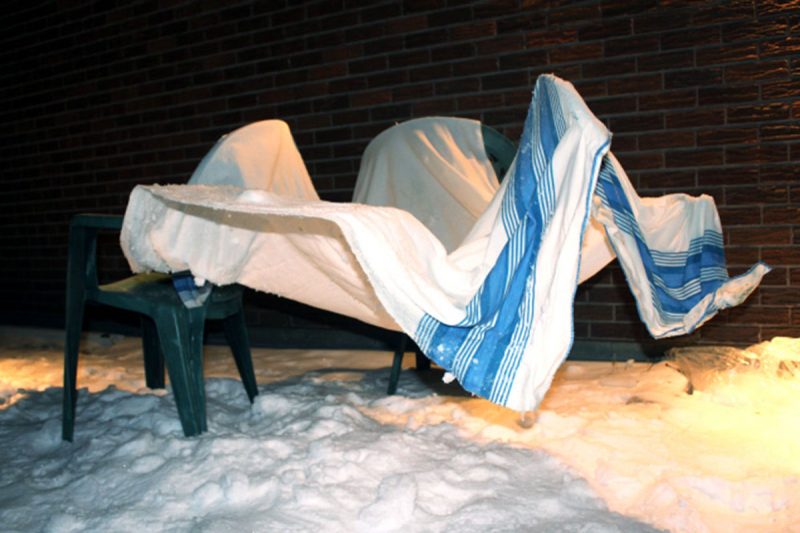
Grab some old bed sheets, place them in water and put them outside over lawn furniture or other things around the yard. The sheets immediately freeze, creating a canopy fort.

Julie Kusyk makes snow forts by freezing bed sheets and draping them over objects outside. // Photo supplied by Julie Kusyk
Growing up, Kusyk says she lived outside, making forts like the canopy one, and coloured ice blocks and snow creatures.
“The whole world would come alive,” she says. “If you have an idea, try to figure out how you can build that. It’s such a diverse material. There are many exciting opportunities. Even just snow and water and light — you can make so many amazing things.”


My brothers and I have become masters at designing and building snow forts over the years. This year we are doing multiple. The first two were Mayan stule pyramids, built with rubble-style architecture. We then used ice as siding, filling the cracks with slush. The other thing we are making is more in early Renaissance-style architecture. It has an elevated courtyard built with corbel vaults and a large pathway laid over it. This is about 5 feet tall. There is a throneroom two steps above that (about 6 feet off the ground) and maybe three feet off of that is a defensive tower with a wall up top. The top of the wall is 12 feet off the ground.